If you are familar with my method for mortising on the Router Table, you know that I use a modified tenon jig to control the lateral movement of the workpiece. The tenon jig has a runner that slides in the miter track and moves right and left. The travel of the tenon is limited by two stops in the miter track.
The miter track on my current router table is equipped with a t-track type miter slot, whereas my old router table had a plain miter track. This article discusses my approach to making the rulered stops for both style miter tracks.
If you would like more information on which tenon jig I use,click here.
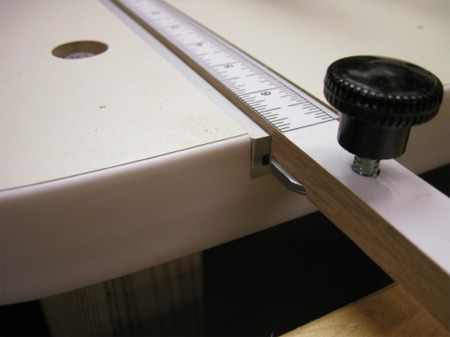
The rulered stops fit into the miter track and control the distance the tenon jig travel from left to right.
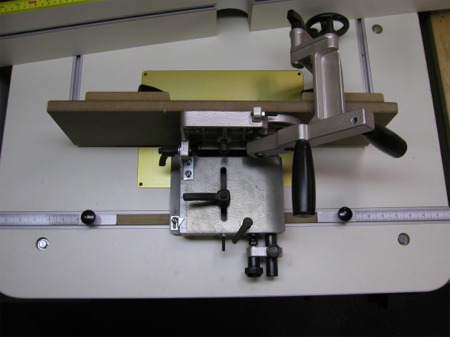
The stops were designed to be even with the end of the miter track when when they are butted right up against tenon jig.
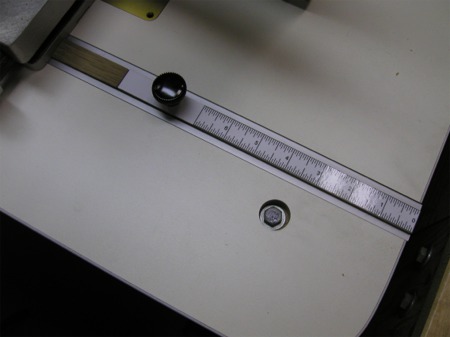
The t-track style miter slot is much easier to make stops for.
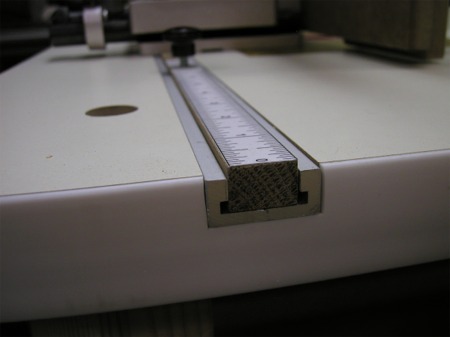
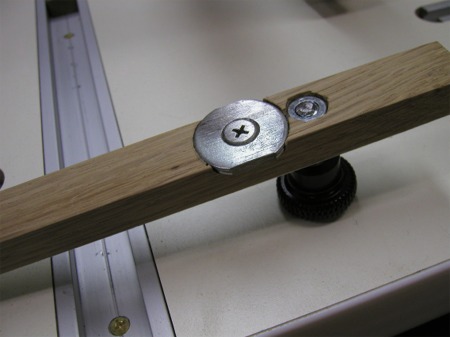
There are two washers with the sides filed off which are recessed into the bottom of the stop. The washers slide in the wide part of the t-track style miter slot.
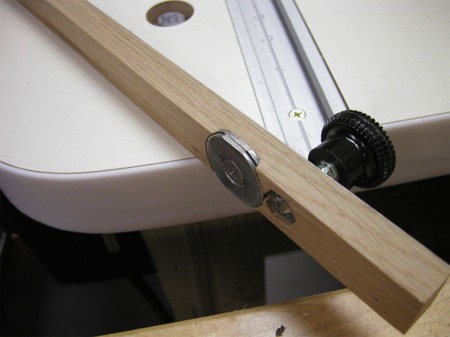
Here's a view showing how the washers line up nicely with the t-track and prevent the stop from coming out of the top of the miter track.
The following picture shows how the washers are recessed into the bottom, as well as the nut that the lock knob goes into. The lock knob goes through the top of the stop and threads into the nut. As the lock knob is tightened, the washers lock into t-track.
The slide itself is a piece of oak that has been milled to fit in the miter track.
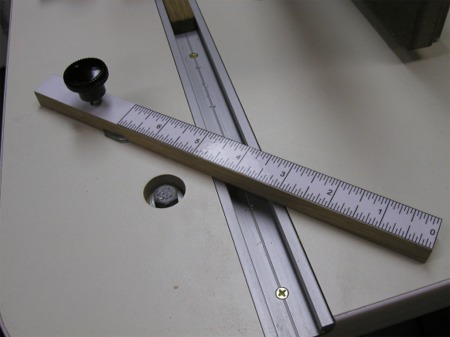
As the stop is moved out to the right, the tenon jig is allowed more travel. I set each of the stops equally.
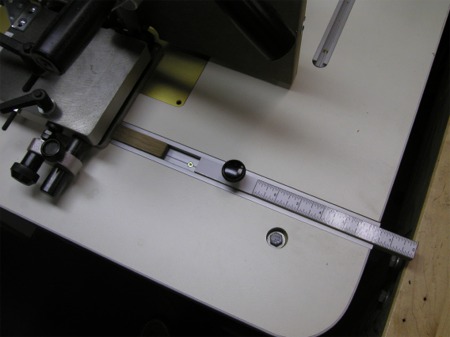
This picture shows the old stops that I made for the non t-track miter track on my old router table. The stops serve the same purpose (limit the travel of the tenon jig), but they lock in the miter track differently.
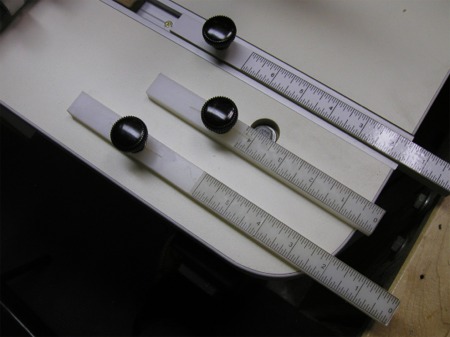
The plain stops are sized to fit snugly in the miter slot. Then the lock knob is tightened, a machine screw is drawn into a countersunk hole which forces the slit wider and locks the stop into place.
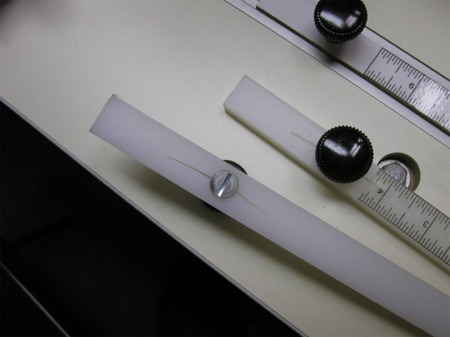
The plain stops are easy to make, but don't lock as well as the t-track stops. Perhaps it's because I made these out of UHMV plastic which is meant to be kind of slippery. This method works pretty well, but if you can get a t-track miter track, you're better off.
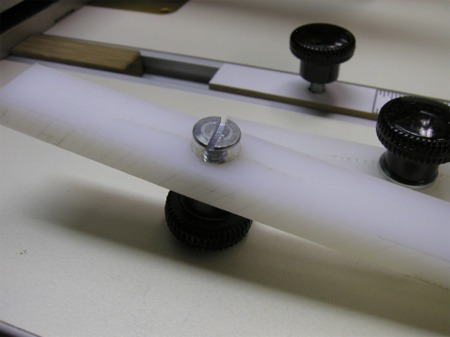
The ruler itself is made on the computer, printed out and glued to the stop with spray adhesive. Feel free to contact me and I'll send you the Word document I created to make the ruler.